by Lara Broecke
In 2005 the Hamilton Kerr Institute was approached by the Catholic chaplaincy in Cambridge to make an early Italian style painted crucifix for their chapel. The Institute agreed to make the crucifix on the condition that it could be done using authentic materials and techniques so that it would become an empirical research project.
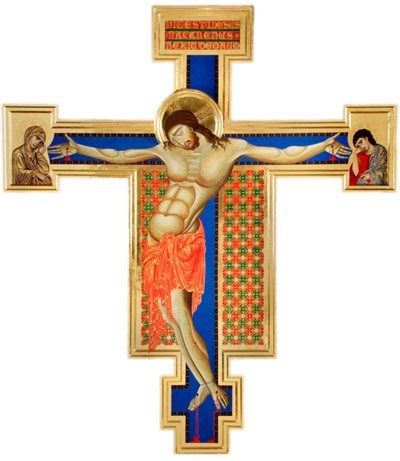
Work began on the crucifix in the middle of 2006. The reconstruction was closely based on the Cimabue crucifix in the church of San Domenico in Arezzo, dating from about 1280, although at two metres high it was only half the size of the original. This model was chosen for its aesthetic appeal, the fact that the style lent itself to reconstruction better than the more painterly crucifixes of later centuries and because its materials and techniques had been studied and published during conservation work in the recent past. Where the materials and techniques of the original were not known, written sources, particularly Cennino Cennini’s Libro dell’Arte (dating from about 1400), and evidence from the examination of other paintings were used to inform the method.
The project served to highlight how little we actually know about the practicalities of producing paintings, even in such a well-studied field, and generated many interesting questions for further study.
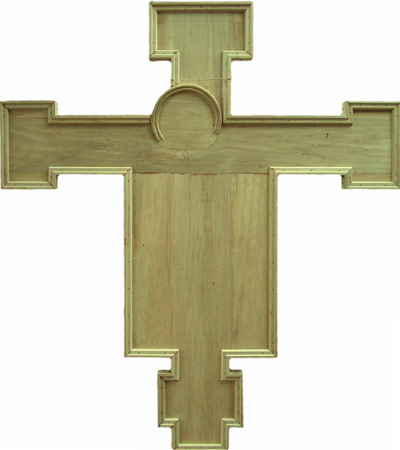
The cross itself was constructed from poplar, with sweet chestnut battens at the back (below, left). The main elements were attached to each other using dowels and animal skin glue, while the framing pieces and battens were glued and nailed in place. The most challenging part of the construction process was the halo. Working mouldings around a circular base proved very labour intensive and fixing the protruding halo securely at the correct angle, while giving a perfectly smooth transition to the flats and avoiding joins across what would later be Christ’s face required some careful thought. Cimabue must have planned his composition in detail from the very early stages to have got the positioning of the halo and joins correct, and I had to do likewise in order to avoid difficulties later in the process.
 |
||
|
The wooden structure, prepared and glued together |
||
 |
||
|
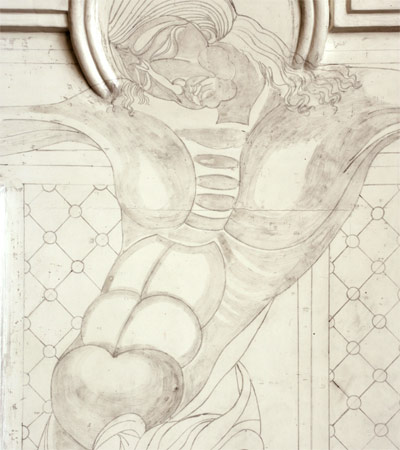
Ink applied over gesso preparatory layers |
||
Following construction, the panel was prepared with layers of size, linen canvas and gesso. A pattern was made for the composition which was transferred to the panel in charcoal and fixed with ink (above, right). Water gilding was then carried out on a base of bole bound in egg white, using the materials and methods described by Cennino. Timing proved crucial in this process, as the window of opportunity for burnishing the gold was much smaller than with modern techniques. After some experimentation, however, it became possible to achieve a beautifully even finish. Punching was then used to create intricate patterns in the gold to decorate the figures’ halos.
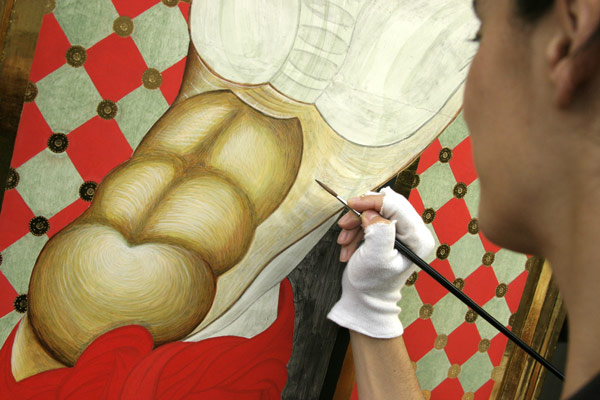
Paint was applied in several layers of dry pigments ground in egg yolk tempera in order to achieve sufficient covering power while maintaining a slight translucency; this allowed the shading from the underdrawing to contribute to the final effect (below, left). The blue pigment used for the background of the cross was azurite; this required a good deal of preparation and was only applied successfully after a lot of experimentation. When the particle size of the azurite is very small the colour is an unappealing blue-grey, but with larger particle sizes it becomes very difficult to apply the paint densely and evenly; in addition, mixing two particle sizes gives an ugly effect as the smaller particles give a dusty look where they fall on top of larger ones. As a result, the azurite from the supplier had to be separated into three different particle sizes before use, and covering layers created with the smaller sizes before the application of larger particles to create a luscious, velvety effect at the surface. The binder was also important; egg yolk tended to saturate the blue, destroying the sparkle of the large particles, while egg white made the large particles clump together. The ideal binder was parchment glue (suggested by Cennino), which gave sufficient tack and allowed an even application with a brush while not affecting the appearance of the pigment particles.
 |
||
|
Detail during the tempera painting |
||
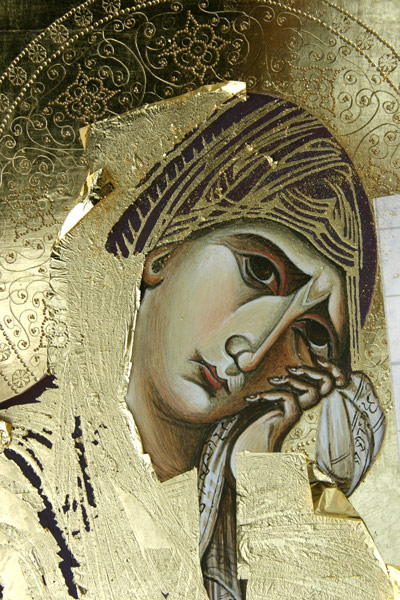
Red and green glazes based on linseed oil and an oil-resin varnish were used over an egg tempera underlayer in many parts of the crucifix to give an enamel-like effect. The glazes were then embellished with oil gilding to make striations, letters and patterns (below, left). This was the most difficult part of the reconstruction process. The first hurdle was the formulation of an oil mordant which would dry relatively quickly, without cracking or wrinkling and would have the right flow qualities to allow very fine work, standing just proud of the paint surface. Once again, Cennino was consulted and his recipes for mordants used. It was then necessary to find a way to apply the gold leaf so that it would stick to the mordant but not to the red and green glazes around. The best method was to paint the glazes with several layers of egg white before applying the mordant; the gold did not stick to this and it could then be washed away with water once the gilding was finished.
 |
||
|
Oil mordant gilding in process |
||
 |
||
|
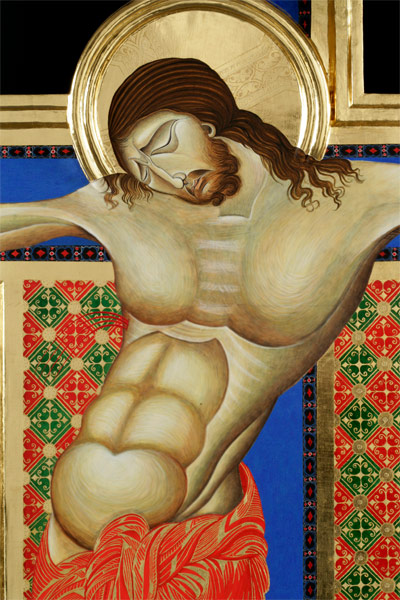
Detail of completed work |
||
As the project neared its end the richness of the aesthetic became apparent, with glossy glazes and burnished gold laid next to deep, velvety blues (above, right). Amongst these luxurious textures, Christ’s head and torso, painted in plain egg tempera, stood out in their simplicity. The reconstruction process gave an insight into the complexities of the materials available in the period and the degree of planning and practice needed to bring a painting, especially on this scale, to successful completion.
 |
||
|
The completed work |
||
 |
||
|
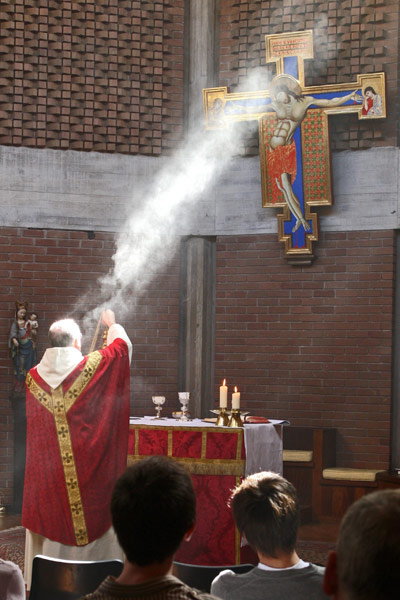
The crucifix was installed in the chapel of the Catholic Chaplaincy in March 2008 and is now in regular use during services |
||
An article describing its making in detail appeared in the Autumn 2009 issue of the technical art history journal Zeitschrift für Kunsttechnologie und Konservierung (ZKK).
The following all contributed to making the crucifix: Alan Barker, Spike Bucklow, Kristin Kausland, Ray Marchant, Ian McClure & Renate Woudhuysen.
